Pannier Bracket & Silver Boxes Installed on Royal Enfield Himalayan
I wanted to add storage that was lightweight, simple, with a design that wouldn’t get in the way if I took my wife or one of my kids for a ride. These Himalayan panniers are super lightweight, which I think is important when it comes to this bike and how light the bike is in general. The Himalayan pannier bracket install wasn’t too bad overall. I did have a few little frustrations, but nothing major.
I ordered the panniers from Hitchcock’s Motorcycles, and the pricing on these was great, just over $500US, plus shipping. The box actually arrived from the UK faster than most of Amazon orders have been getting here lately!
The Unboxing of the Himalayan Panniers
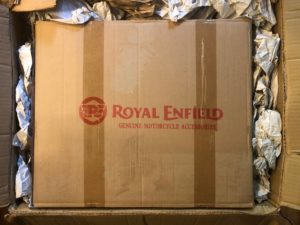
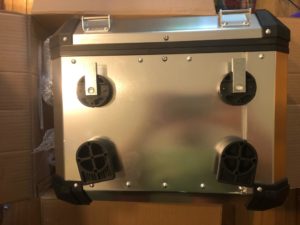

The Specifications
Description direct from Hitchcock’s Motorcycles:
Product Details:
PANNIER BRACKET and BOX SET, SILVER (Made up of part number 1041283 + 1041284)
This is a full set of pannier frames and pannier boxes that bolt directly to the Himalayan
The bracket set is manufactured from 18mm steel tubing and powder coated black. They have a provision to relocate the rear number plate and indicators. Supplied with all fixings and indicator wiring extensions.
The aluminum boxes have a 2mm thick side wall with 2.5mm base. A Quick release system for easy removal or re-fitting.
There are two locks on lid: when one lock is opened, the second functions as a hinge. Using heavy duty replaceable nylon corner protectors to improve the pannier’s strength.
Approximate dimensions for each case 45cm long x 20cm wide x 36cm height
A genuine Royal Enfield accessory
Himalayan Pannier Bracket Install
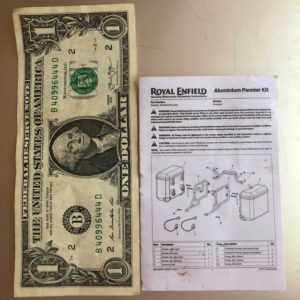 Install of the pannier bracket wasn’t too bad, though the instructions are written in super tiny font.. magnifying glass anyone? The bracket and panniers came with two sets of instructions, one a book and one that folded out, both extremely small. Minus being written in extremely small font, the instructions were easy to follow and I had no issues going through them step-by-step. Start to finish, the install of the pannier brackets took about two hours. Most of the bracket install went smoothly, except for one bolt on each side that I had some trouble with.
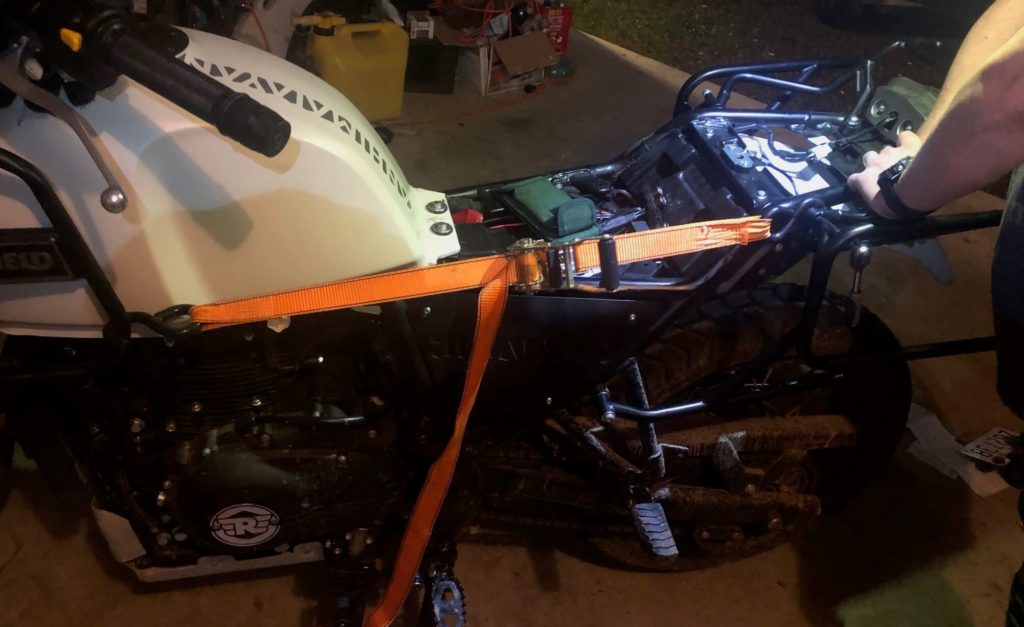
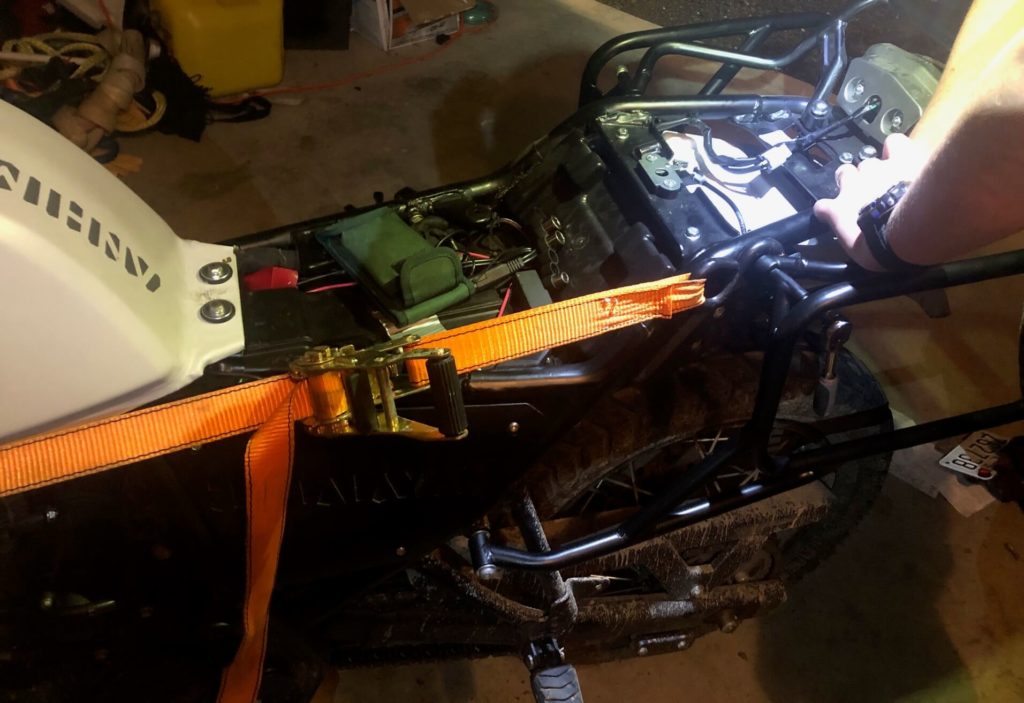
The top front bolt on each side was pretty tough – we had some issues getting everything lined up so we could get the bolt on each side actually started. I had to push and pull the bracket on the first side and for the second side, I set up a ratchet strap to pull forward while my wife and I both pushed down to get everything to line up so I could get the bolt in. Nothing is quite as plug-and-play as one would hope, haha!
Adding the Boxes
When I put the actual boxes on, I put them on with the locks facing the back of the bike to make sure they wouldn’t hit my wife’s legs or bother her when we ride together. Had the wife get on the bike to make sure nothing would annoy her. Wanted to make sure the panniers wouldn’t be in her way when the two of us go for a ride. She said they’re perfect and aren’t in the way at all.
Took a test ride with the panniers semi-full with some things that weren’t too heavy, but not crazy light either. I couldn’t tell they were even there, let alone full, as I rode. The way the bike handles didn’t change at all, which is fantastic.


